
Instrumental analysis of surface roughness and waviness of raw materials
The quality of a surface coating and the cost involved in achieving it can be significantly influenced by the underlying condition of the substrate material.
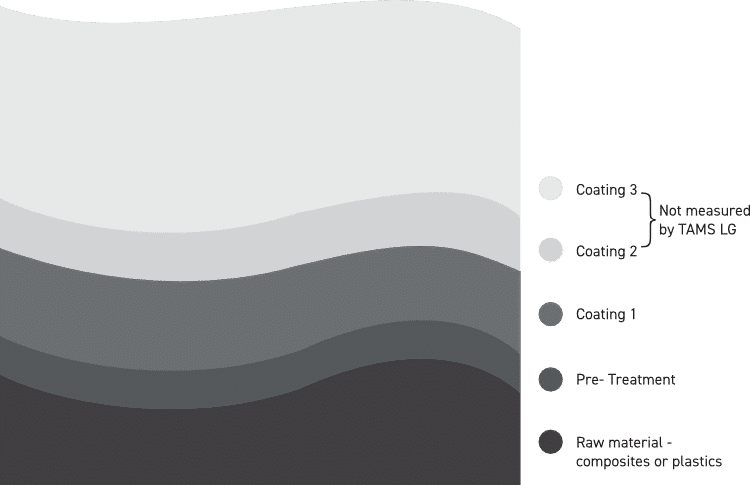
Typically a coating system is built of many layers each interacting with the one it is applied to. Some layers tend to smooth the underlying surface whilst others add more irregularities to the layer structure.
Measuring the quality of the surface at each stage provides opportunities to optimise the overall paint process and to obtain a bettter understanding of the factors that influence the final surface appearance quality.
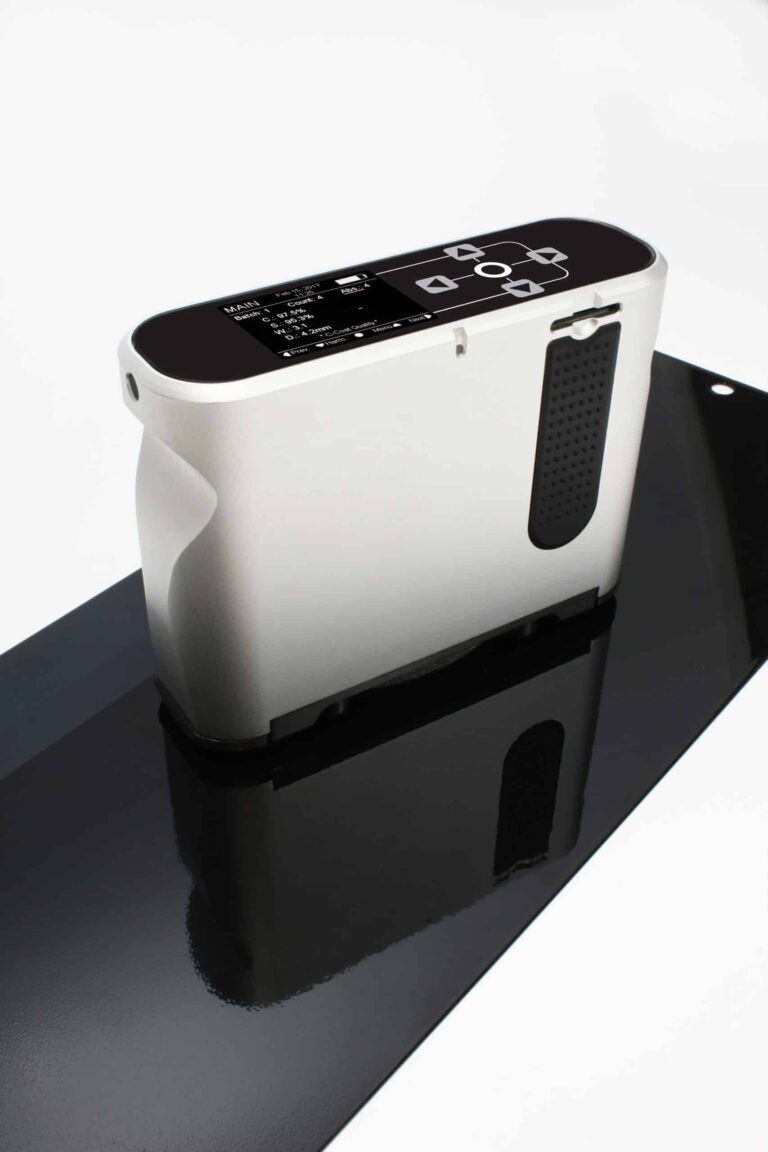
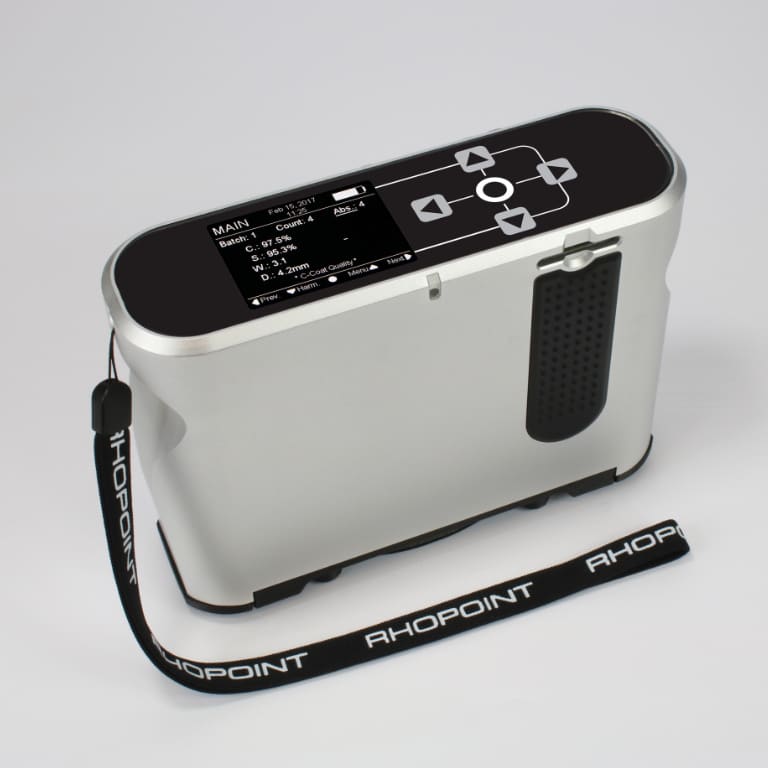
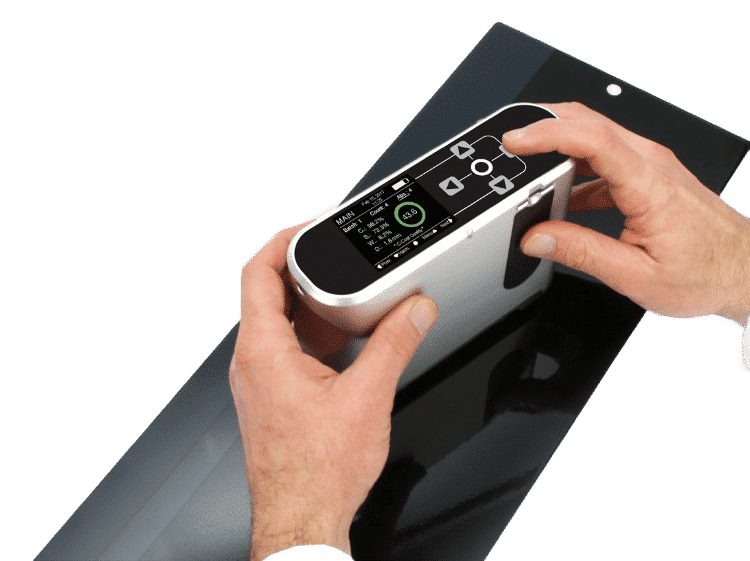
The Rhopoint TAMS® LG is an essential tool for the Quality Control of raw materials and substrates.
This innovative device has many of the advantages of the high-resolution analytical tools combined with the portability and accessibility of a hand held device.

To evaluate the suitability of raw materials, to optimize individual processes and to build a complete picture of how the quality of the final product is influenced at each paint stage, analytical data is needed to understand how each paint process fills, smooths and masks the underlying roughness from the base material.
Widely used laboratory devices producing 3D topographical maps with a sub-micron accuracy and resolution can only be used off-line, and measurement time is also a limiting factor as capturing a representative area on a surface may take many minutes or even hours. The high costs of the equipment and complexity of use usually limit deployment of analytical tools to central development functions in the OEM.
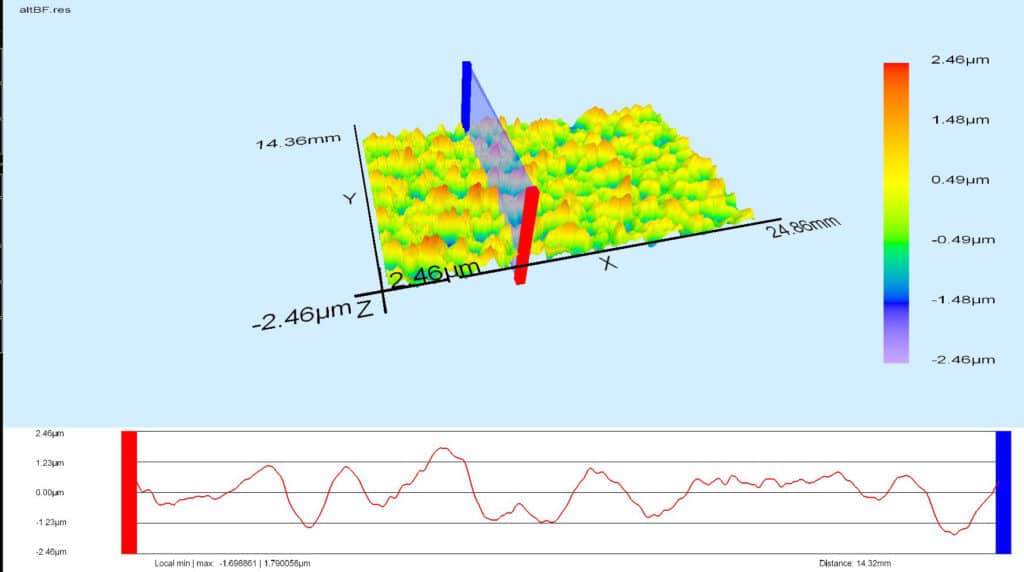
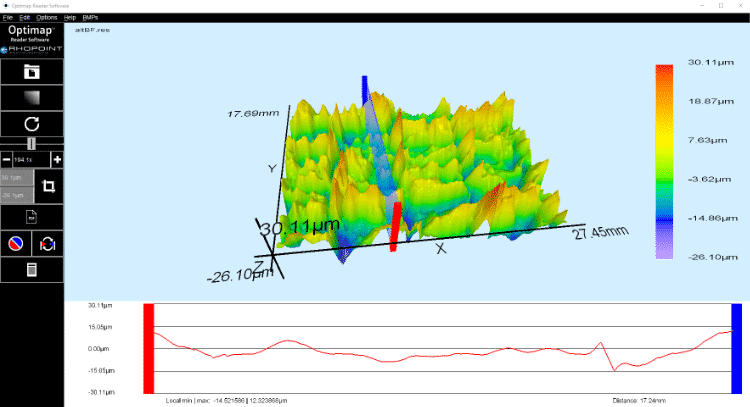
Fully portable TAMS® measures these surfaces with sub micron resolution, in situ in under 10 seconds . Measurements are taken according to DIN EN ISO 4287 (like optical Ra), or DIN EN ISO 25178 for a real topographic information (like Sa), but all topographic information may be exported in open *.res format for deeper analysis with commercial topographical analysis software.
Open format *res files to be used with any topographic software
Surface roughness according to DIN EN ISO 25178
Waviness bands filtered using ISO GPS-sa

Substrate materials can often exhibit surface inconsistencies that affect the quality of finish. Sink marks, depressions on the surface of injection molded plastic parts, can be caused during the plastic cooling process where thicker sections of plastic cool at a slower rate than others creating a higher percentage of shrink in a local area.
Mould lines can appear on the surface of a moulded composite part where the molten material has converged after splitting off into two or more directions in a mould. Bond line read-through, also known as telegraphing, is a condition where the footprint of the adhesive can be seen through a material. It occurs when an adhesive has a distorting effect on a material.
All these manufacturing issues can turn aesthetically pleasing surfaces into unsightly ones.
All measurements are compatible with Rhopoint’s
own free image analysis software “Optimap Reader” included in the price of the TAMS®.
All topographic measurements taken are compatible with Rhopoint‘s Optimap Reader software or any commercial topographical analysis software.
Not only relevant topographic indices can be analyzed. For simplicity, Rhopoint TAMS® LG enables easy documentation and reporting by using Rhopoint
Quality indices to judge overall quality of an E-coat.

Rhopoint TAMS® LG allows the quality of each stage of a typical coatings process to be measured and quantified
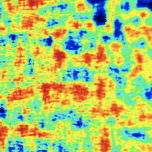
Sa0.8=0.10μm
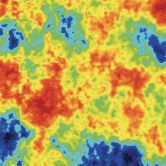
Sa0.8=0.19μm
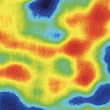
Sa0.8=0.02μm
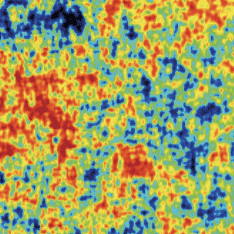
Sa0.8=0.32μm
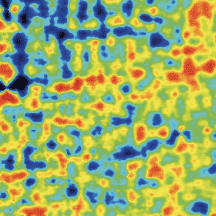
Sa0.8=0.13μm
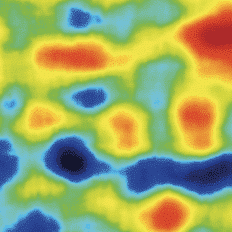
Sa0.8=0.03μm
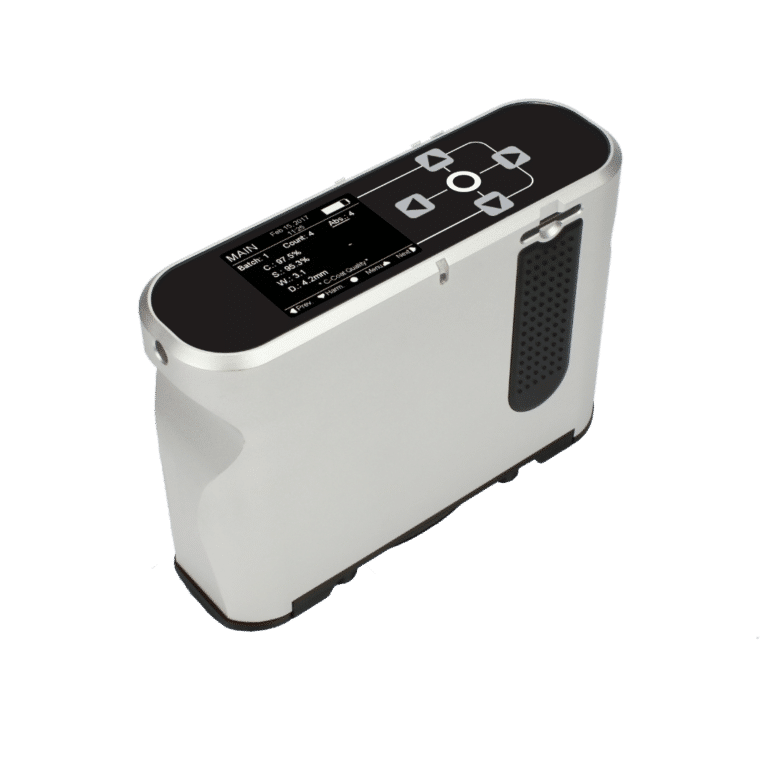
Easy to use interface
5 capacitive sense buttons
Colour Screen
Full colour IPS screen
Soft-touch
Does not damage delicate surfaces
Tactile button & capacitive sensors with a push auto system
Capture and processing time = 10 seconds
Rechargeable & removeable lithium polymer batteries
| Included Accessories |
|---|
| • Calibration tile |
| • Batteries (x2) |
| • Optimap reader license |
| • Instrument calibration certificate |
| • Wrist strap |
| • SD Card |
| • Carry case |
| WS-BANDS (C-/E-COAT) | Sa_A | Sa_B | Sa_C | Sa_D | Sa_E | Sa_LW | Sa_SW |
|---|---|---|---|---|---|---|---|
| Bandpass Filter [mm] | 0.1 - 0.3 | 0.3 - 1.0 | 1.0 - 3.0 | 3.0 - 10.0 | 10.0 - 13.5 | 0.3 - 1.2 | 1.2 - 12.0 |
| Resolution (on display) | 0.1 | ||||||
| Repeatability [SD] | 0.1 | ||||||
| Reproducibility [SD max] | 0.3 |
| E-COAT / R-MAT (O-ROUGH) | Arithmetical mean height of surface area | Roughness Average in X-direction | Roughness Average in Y-direction |
|---|---|---|---|
| Index [units] | Sa [μm] | RaX [μm] | RaY [μm] |
| Minimum | 0.0 | ||
| Maximum | 20 | ||
| Resolution [on display] | 0.1 | ||
| Repeatability [SD] | 0.1 | ||
| Reproducibility [SD max] | 0.3 |
Free extended 2 year warranty: Requires registration at www.rhopointinstruments.com within 28 days of purchase. Without registration, 1 year standard warranty applies.
Calibration and service: Fast and economical service via our global network of accredited calibration and service centres. Please visit www.rhopointinstruments.com for detailed information.

The Rhopoint TAMS® LG is made from an all aluminium construction which means it can be recycled at the end of its long life.
| Instrument Specifications | ||
|---|---|---|
| Battery Type | Rechargeable lithium-ion | |
| Power Supply | 9VDC 2.0A | |
| Readings per charge | 1200 | |
| Memory | >100,000 readings | |
| SD Card Slot | up to 32GB (only for data transfer) | |
| Interfaces | SD Card, micro USB | |
| Operating Temperature | 15-40 deg Cell | |
| Commodity Code | 9027 5000 | |
| Calibration Temperature/humidity | 22deg Cel ±2.5 Humidity ≤ 55% | |
| Storage Temperature/humidity | 0°C - 45°C | |
| Display | LCD: Color IPS screen | |
| Control | 5 touch keys, 2 physical buttons, Sensor system | |
| Additional Sensor | Accelerometer for instrument orientation recording | |
| Resolution (surface) | 37μm/pixel | |
| FOV | 27mm x 16mm | |
| Data Management | Optimap Reader Software, Export via SD Card | |
| Dimension & Weights | ||
|---|---|---|
| Dimension | 172mm (H) x 129mm (W) x 53mm (D) | |
| Weight | 1kg (including batteries) | |
| Packed Weight | 9.15kg | |
| Packed Dimensions | 51 (H)x 51 (W) x 51 (D) | |
| Measurement Time | ||
|---|---|---|
| Typical computation time | 2s (dependent on selected image saving and filtering option) | |
| Typical acquisition time | 5s | |
| Order Codes | ||
|---|---|---|
| Rhopoint TAMS LG | A7100-003/2 | |
Selecting the correct angle for the application will optimise measurement accuracy. Three types of instruments are available on the market: 60° single angle instruments, a
The diagram above shows the same coating applied to two panels, the first has orange peel/waviness present due to the incorrect application setting on the
Please note, this is NOT a quotation, just a confirmation of the price when purchased in the UK exclusive of VAT/duties