£310 – £555Price range: £310 through £555
All GBP prices are exclusive of UK VAT (where applicable)
Prices exclude local duties – Purchase through your local agent

Over time an instruments accuracy can drift. This is normally caused by general wear and degradation, however, hazardous environments or instrument shocks can speed up this process. To ensure confidence in the results of your instrument, we always advise that they should be regularly serviced and calibrated. This will ensure reliable, accurate and consistent measurements are given.
There are 3 main reasons why calibration is important, especially within the manufacturing and testing industries:
Each glossmeter is setup by the manufacturer to be linear throughout its measuring range by calibrating this to a set of master calibration tiles traceable to NMI. In order to maintain the performance and linearity of the glossmeter it is recommended to use a checking standard tile. This standard tile has assigned gloss unit values for each angle of measurement which are also traceable to National Standards such as NMI. The instrument is calibrated to this checking standard which is commonly referred to as a ‘calibration tile’ or ‘calibration standard’. The interval of checking this calibration is dependent on the frequency of use and the operating conditions of the glossmeter.
It has been seen that standard calibration tiles kept in optimum conditions can become contaminated and change by a few gloss units over a period of years. Standard tiles which are used in working conditions will require regular calibration or checking by the instrument manufacturer or glossmeter calibration specialist. A period of one year between standard tile re-calibration should be regarded as a minimum period.
If a calibration standard becomes permanently scratched or damaged at any time it will require immediate recalibration or replacement as the glossmeter may give incorrect readings. International standards state that it is the tile that is the calibrated and traceable artefact not the gloss-meter, however it is often recommended by manufacturers that the instrument is also checked to verify its operation on a frequency dependent on the operating conditions.
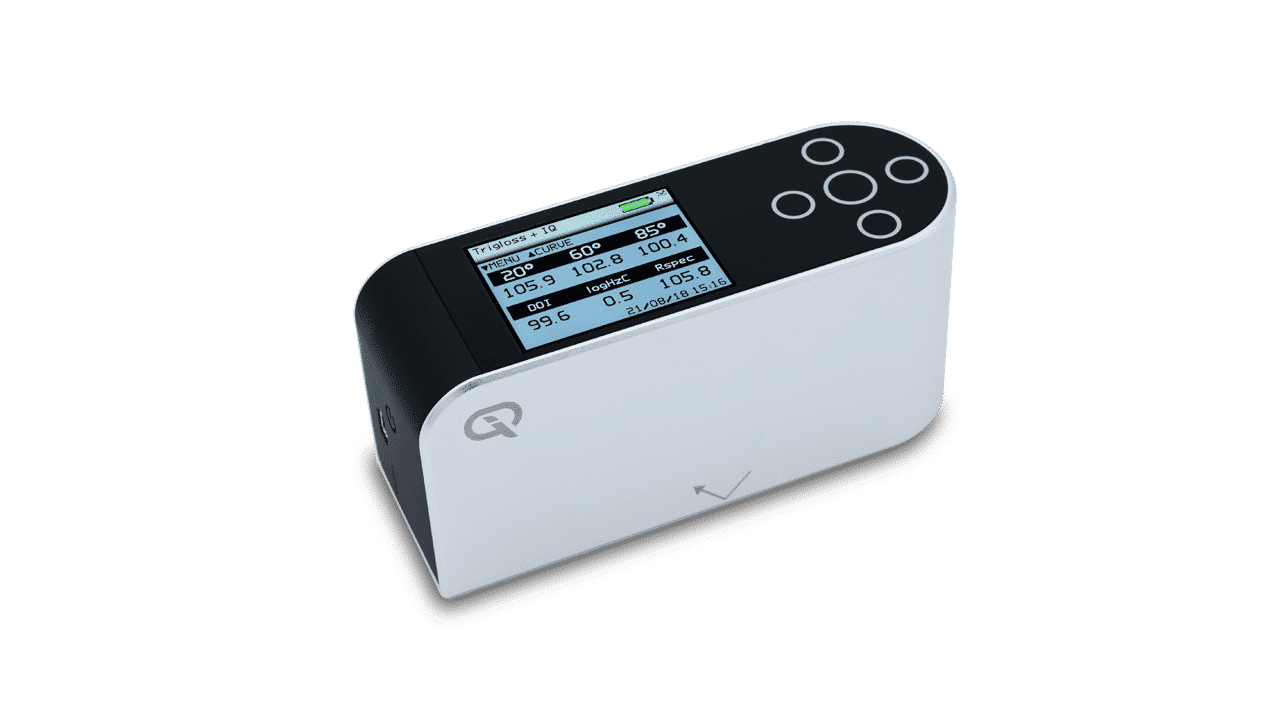
Mirror Gloss (900 GU @ 60º)
Order Code: B6000-101/ISO
Supplied with ISO 17025 certificate

Mirror Gloss (900 GU @ 60º)
Order Code: B6000-101/ISO
Supplied with ISO 17025 certificate
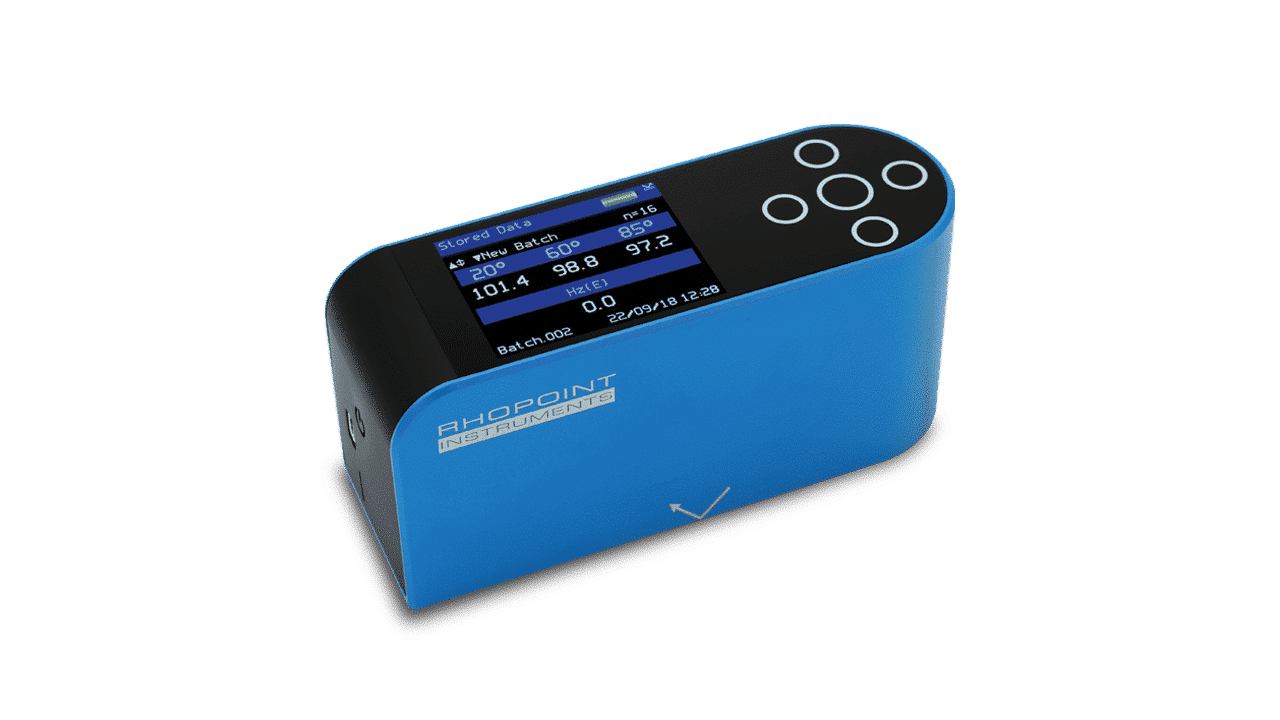
Mirror Gloss (900 GU @ 60º)
Order Code: B6000-101/ISO
Serial Numbers after 3004292
Supplied with ISO 17025 certificate

Mirror Gloss (900 GU @ 60º)
Order Code: B6000-101/ISO
Serial Numbers after 3003971
Supplied with ISO 17025 certificate

Mirror Gloss (900 GU @ 60º)
Order Code: B6000-101/ISO
Supplied with ISO 17025 certificate

Mirror Gloss (900 GU @ 60º)
Order Code: B6000-101/ISO
Serial Numbers after 3004339
Supplied with ISO 17025 certificate
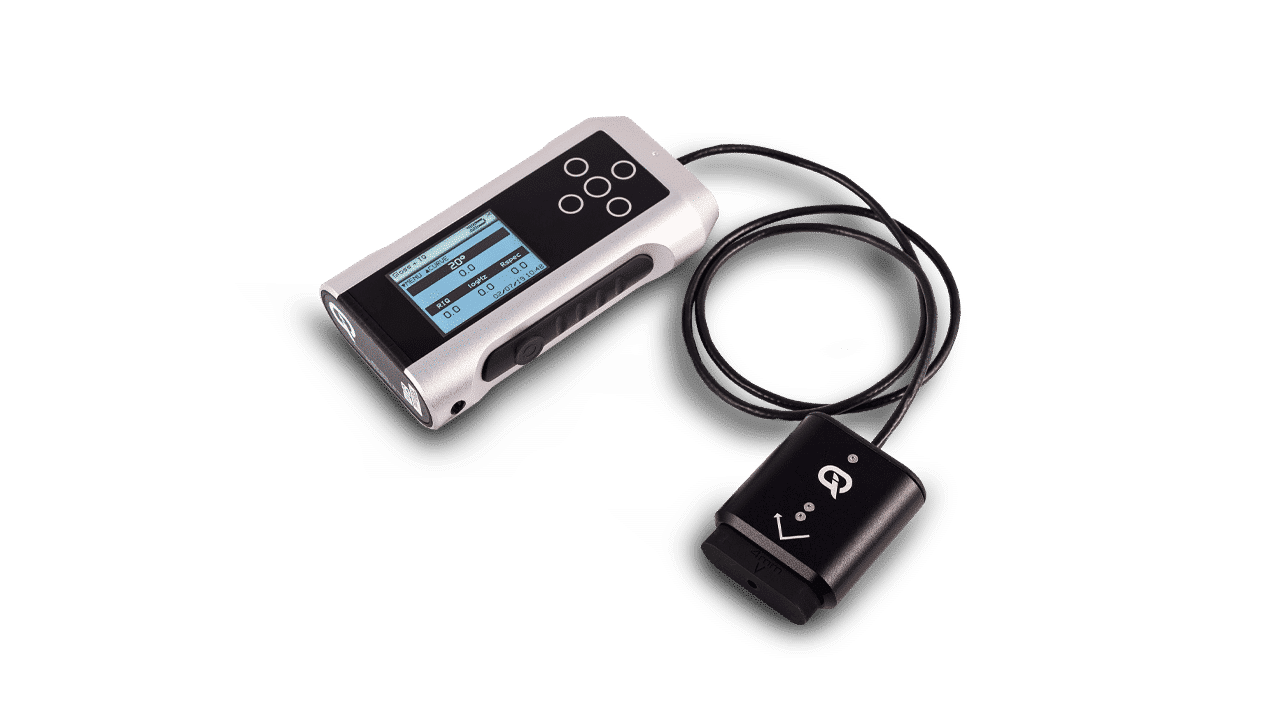
Mirror Gloss
Order Code: B6000-016
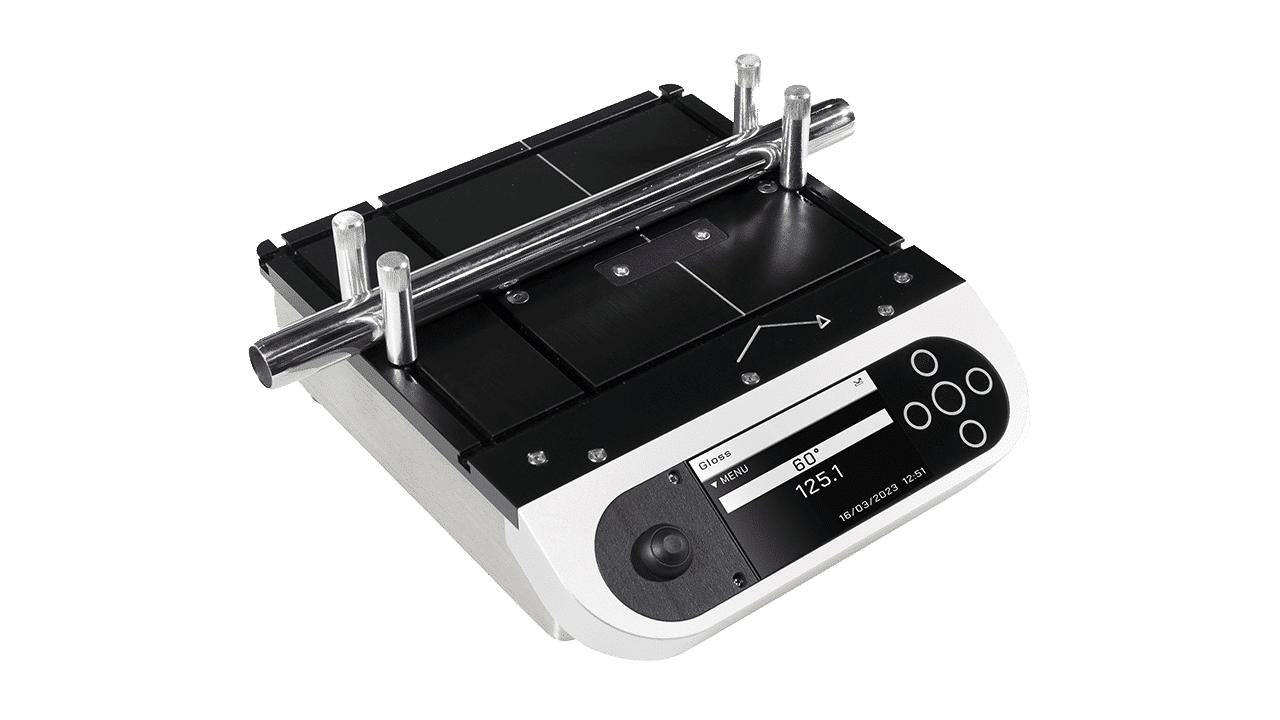
Mirror Gloss (900 GU @ 60º)
Order Code: B1277-631/ISO
Supplied with ISO 17025 certificate
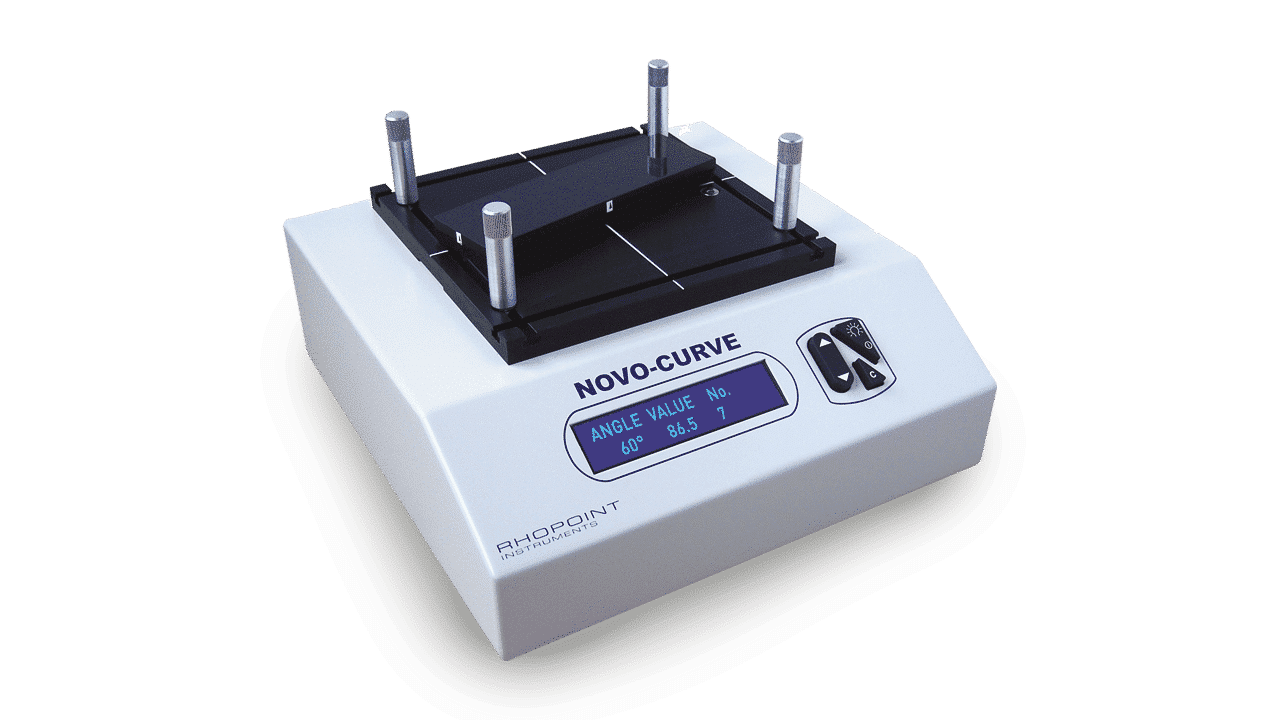
Mirror Gloss (900 GU @ 60º)
Order Code: B1277-534
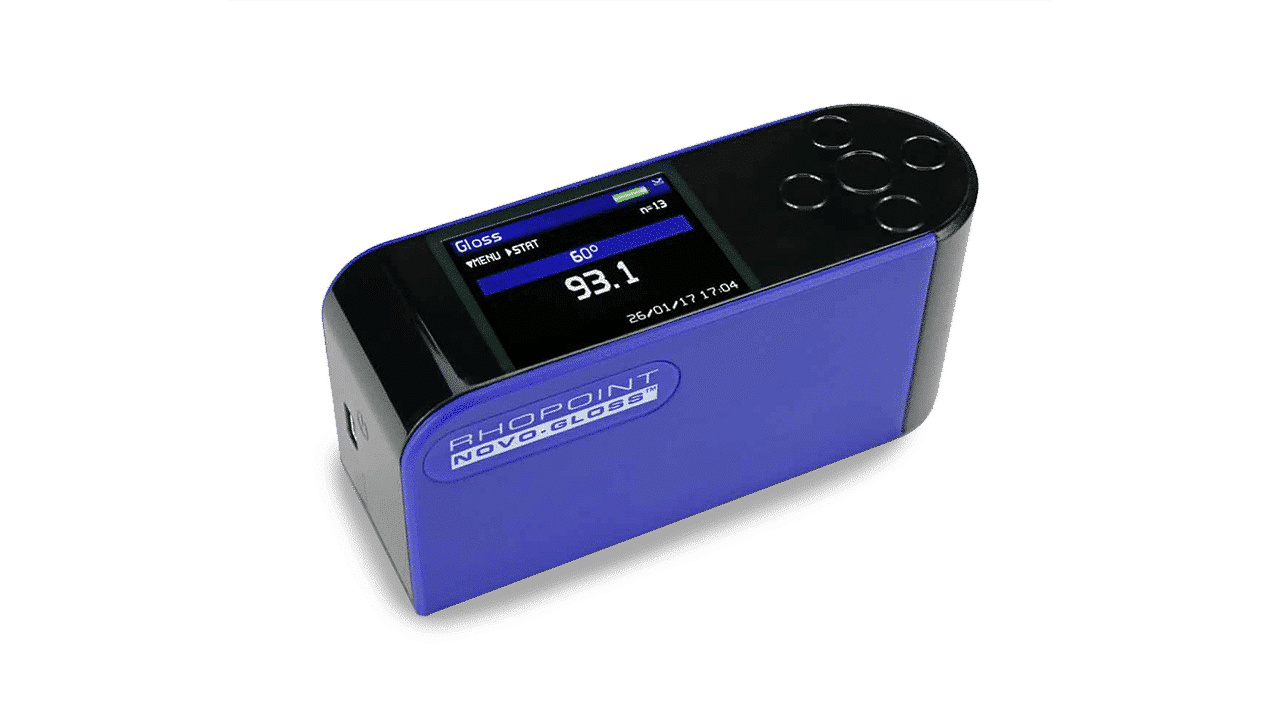
Mirror Gloss (900 GU @ 60º)
Order Code: B4000-203/ISO
Serial Numbers before: 3004292
Supplied with ISO 17025 certificate

Mirror Gloss (900 GU @ 60º)
Order Code: B4000-203/ISO
Serial Numbers before: 3003971
Supplied with ISO 17025 certificate

Mirror Gloss (900 GU @ 60º)
Order Code: B4000-203/ISO
Serial Numbers before: 3004339
Supplied with ISO 17025 certificate
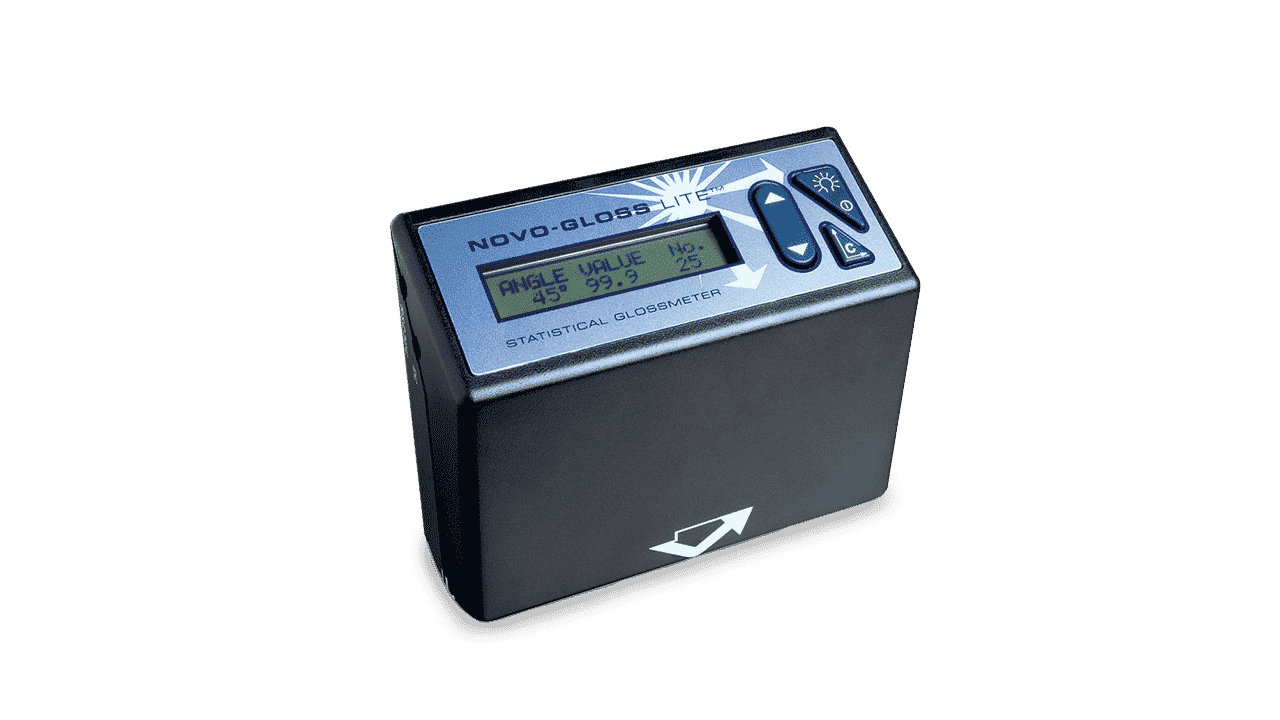
Mirror Gloss (900 GU @ 60º)
Order Code: A5000-116/ISO
Supplied with ISO 17025 certificate

Mirror Gloss (900 GU @ 60º)
Order Code: A5000-116/ISO
Supplied with ISO 17025 certificate
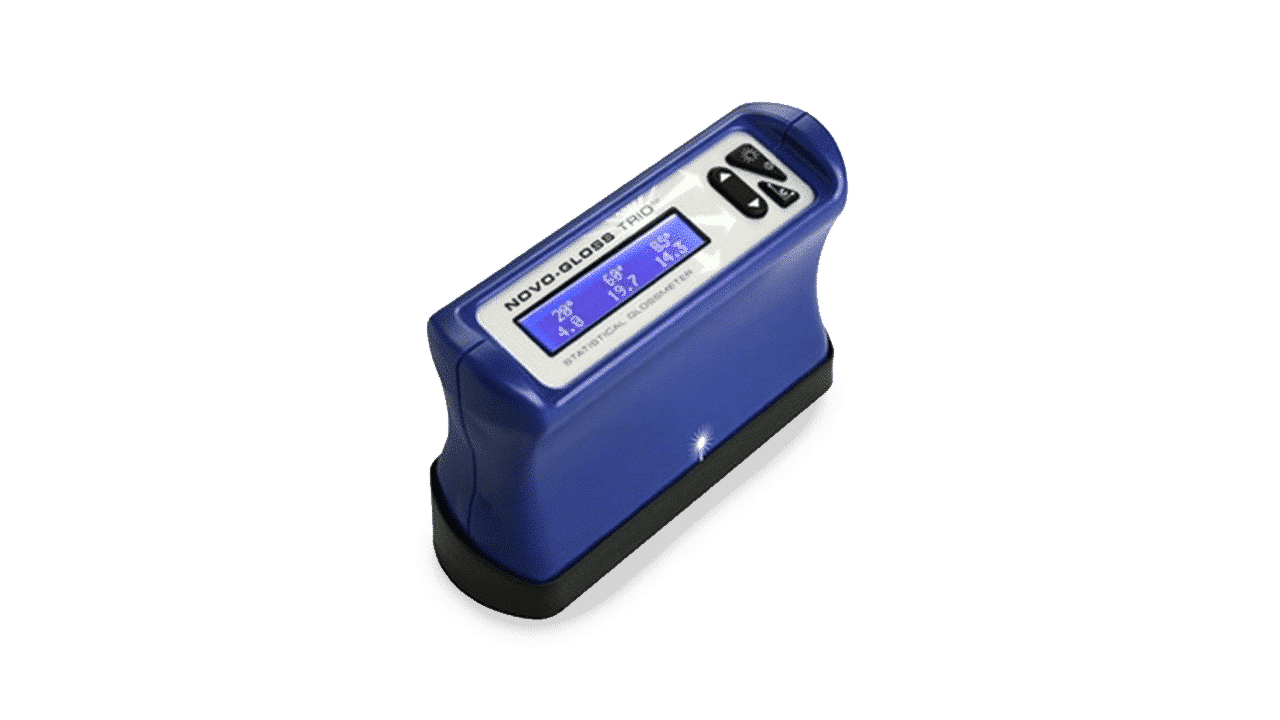
Mirror Gloss (900 GU @ 60º)
Order Code: A5100-007/ISO
Supplied with ISO 17025 certificate
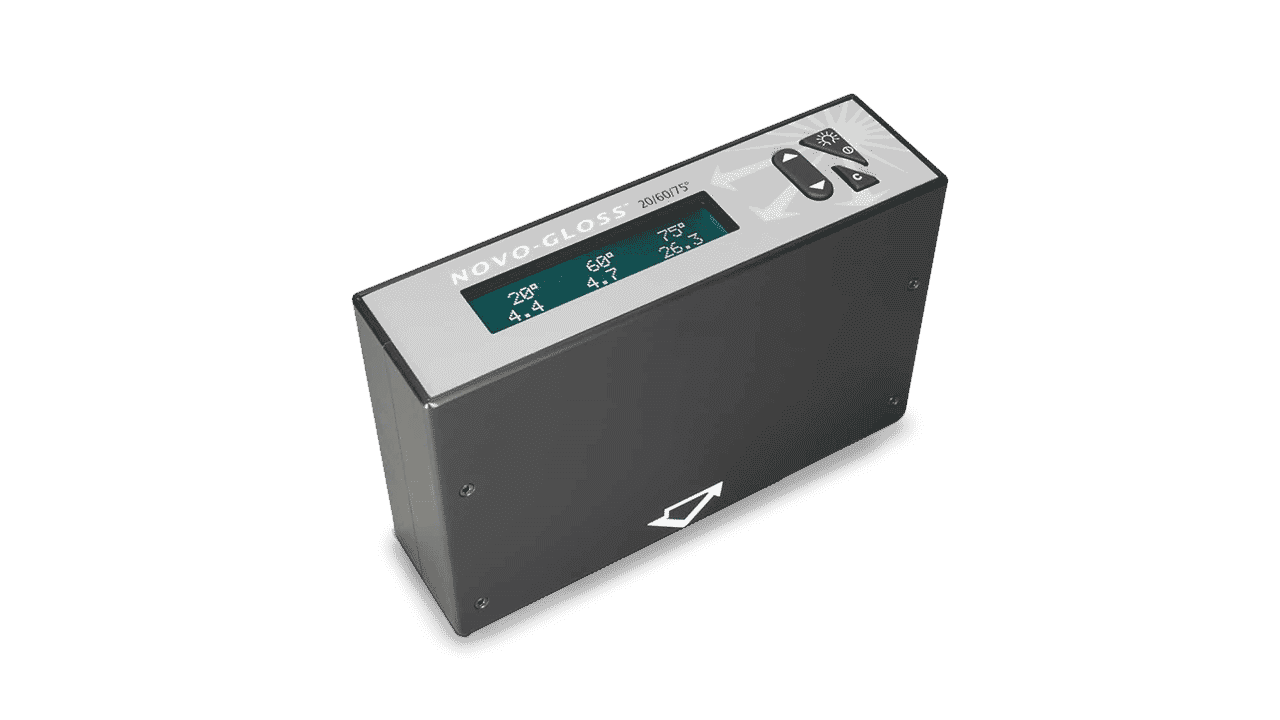
Mirror Gloss (900 GU @ 60º)
Order Code: B2000-360/75
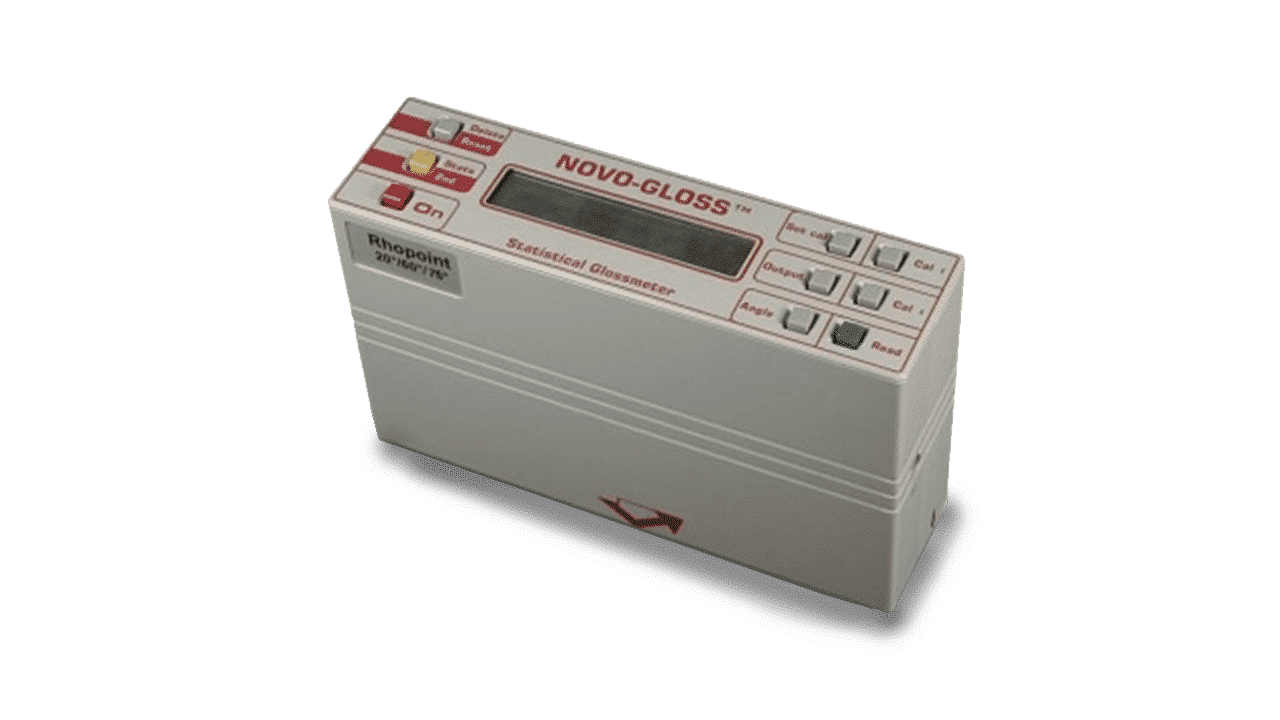
Mirror Gloss (900 GU @ 60º)
Order Code: B2000-355/ISO
Supplied with ISO 17025 certificate

Mirror Gloss (900 GU @ 60º)
Order Code: B2000-355/ISO
Supplied with ISO 17025 certificate

Mirror Gloss (900 GU @ 60º)
Order Code: B2000-360/ISO
Supplied with ISO 17025 certificate
Selecting the correct angle for the application will optimise measurement accuracy. Three types of instruments are available on the market: 60° single angle instruments, a
The diagram above shows the same coating applied to two panels, the first has orange peel/waviness present due to the incorrect application setting on the
Please note, this is NOT a quotation, just a confirmation of the price when purchased in the UK exclusive of VAT/duties