
Measuring Polish Quality
Select a measurement mode
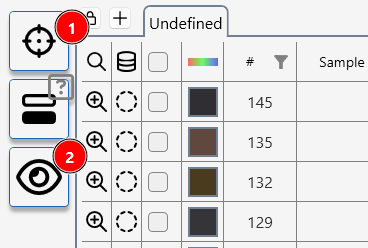
To measure polishing quality with default or last used parameters, press (1) a measurement will be made results will be added to the data table.
To adjust parameters before starting a measurement, click the interactive measurement icon (2).
Surface Preview
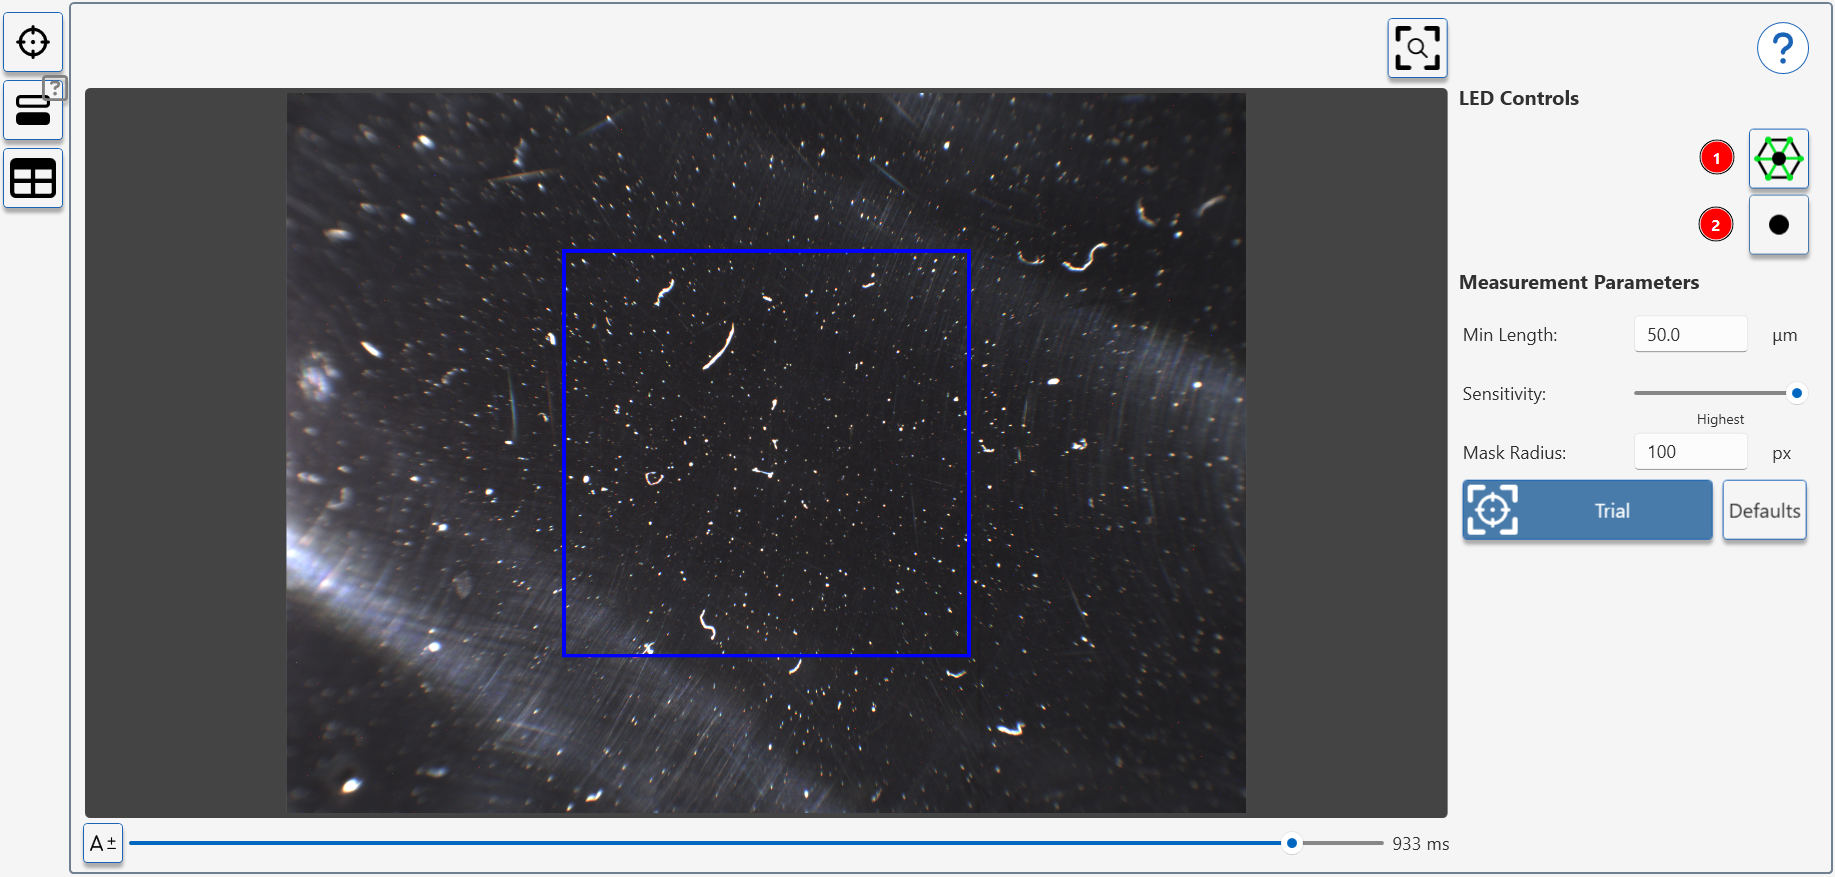
The surface preview is used to position the sample over an area of interest. The 45 degree ring lights show surface damage and marks.
Analysis for polishing marks is made using the 10 degree spot light- press (2) to activate this.
Analysis Preview
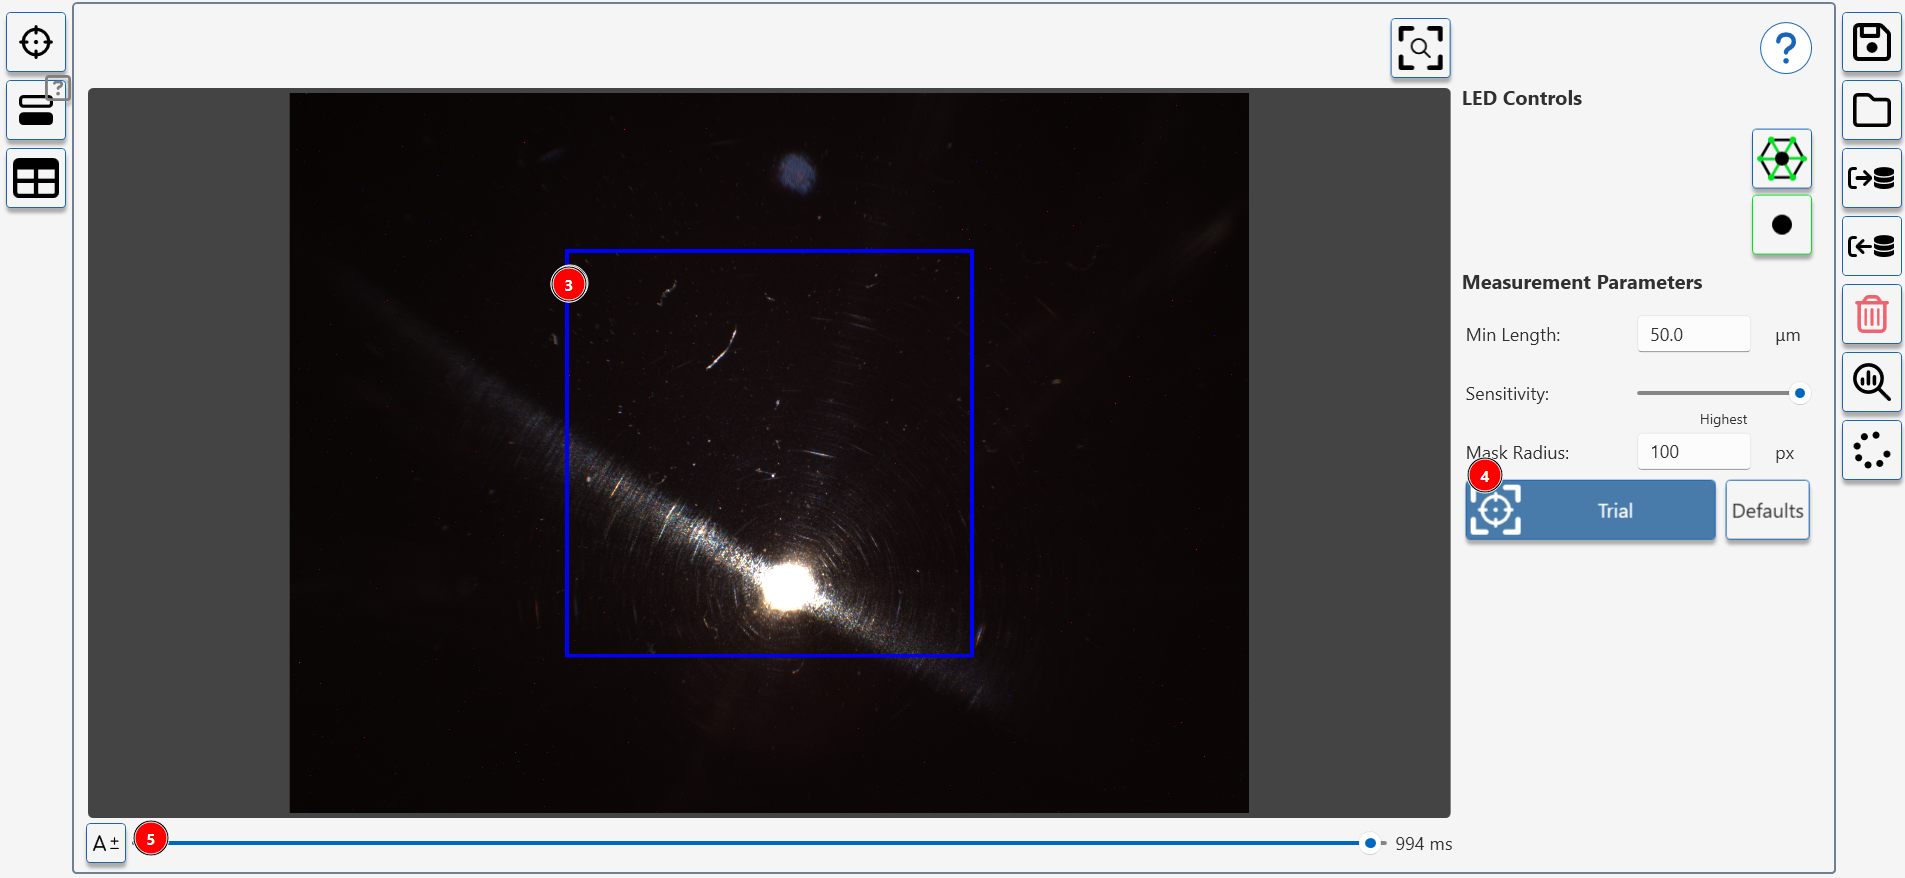
A blue box (1) shows the measurement area.
Press (2) to take a a trial measurement.
Adjust settings (3) to change camera exposure settings (changing exposure in this view does not effect measurement).
Measurement Preview
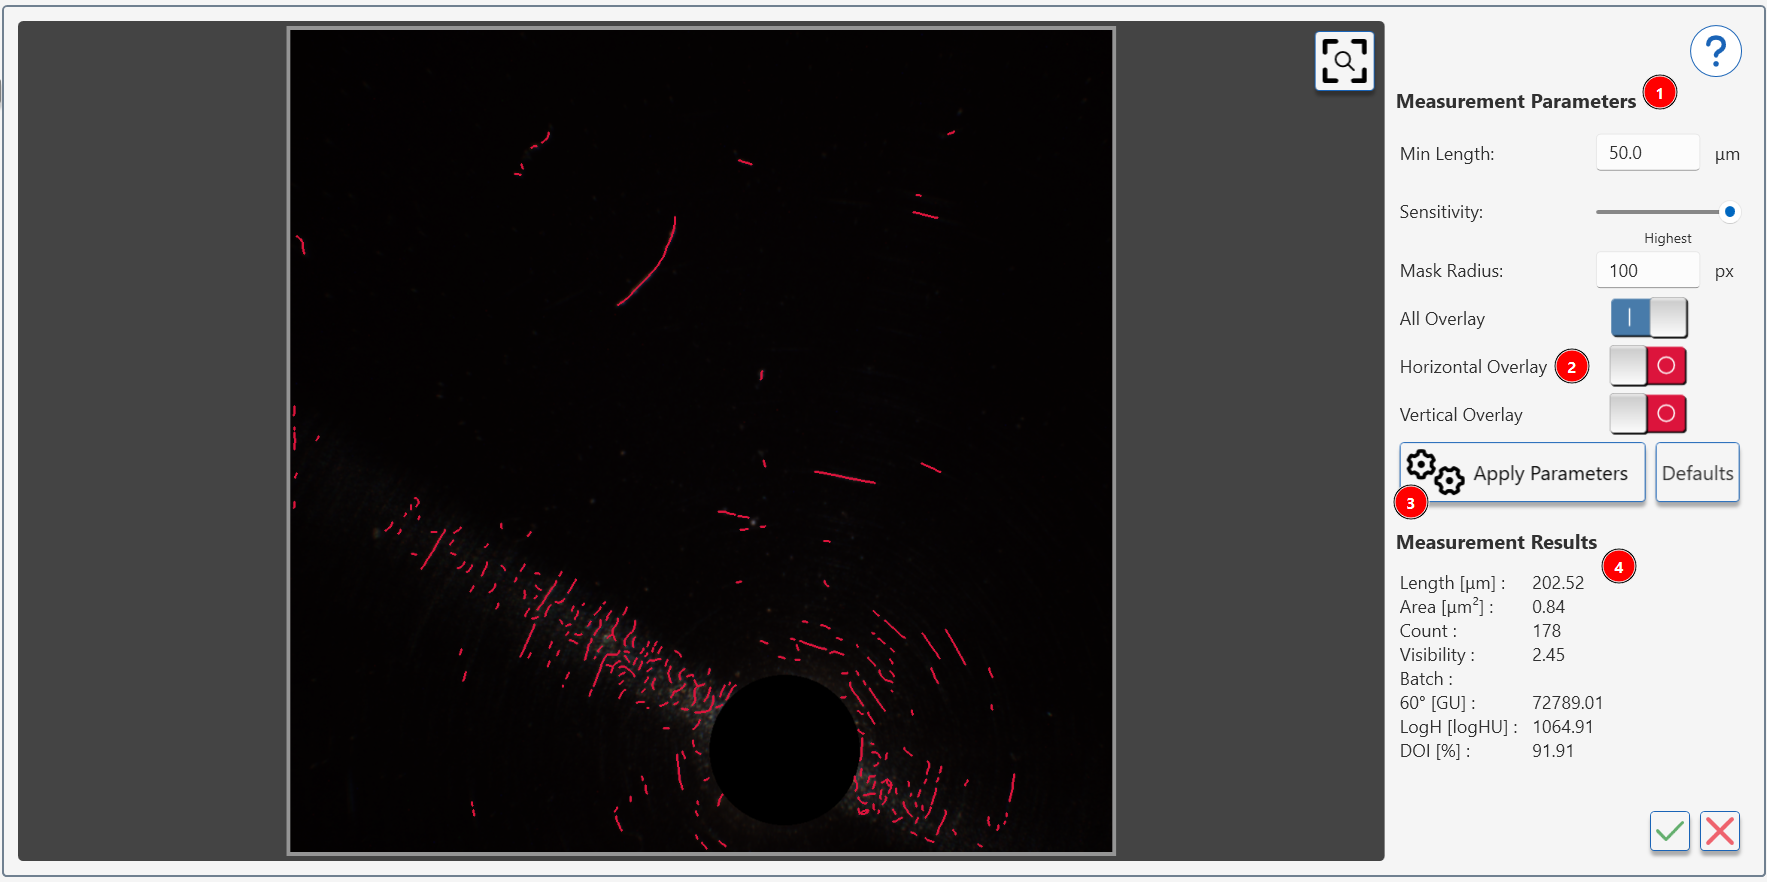
When a preview measurement has been completed the results are shown in a preview window.
The left image shows the identified damage on the surface, adjusting the measurement parameters (1) will change the amount of detected damage.
How to adjust Polishing Quality Parameters
The overlay control (2) highlight 'horizontal', 'vertical' or 'all' scratches. These values are recorded separately in the measurement data and can be used to detect directional damage in the surface.
To recalculate the measurement results (4) adjust the parameters (1) and press apply parameters icon (3).
Complete or restart measurement
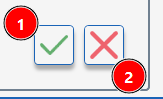
To complete the measurement process, press the tick icon (1)- the trial measurement values will be transferred to the data table.
To restart the process press the cancel icon (2).
Review measurement results
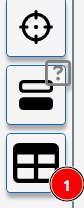
To review measurements in the table, press the table icon (1).