Home » Quick Start Guides » Novo-Gloss Glossmeters
Home » Quick Start Guides » Novo-Gloss Glossmeters
| Model | 20° Gloss | 60° Gloss | 85° Gloss | 45° Gloss |
|---|---|---|---|---|
| HIGH GLOSS | GLOSS FINISHES | LOW GLOSS FINISHES | SPECIALTY ANGLE | |
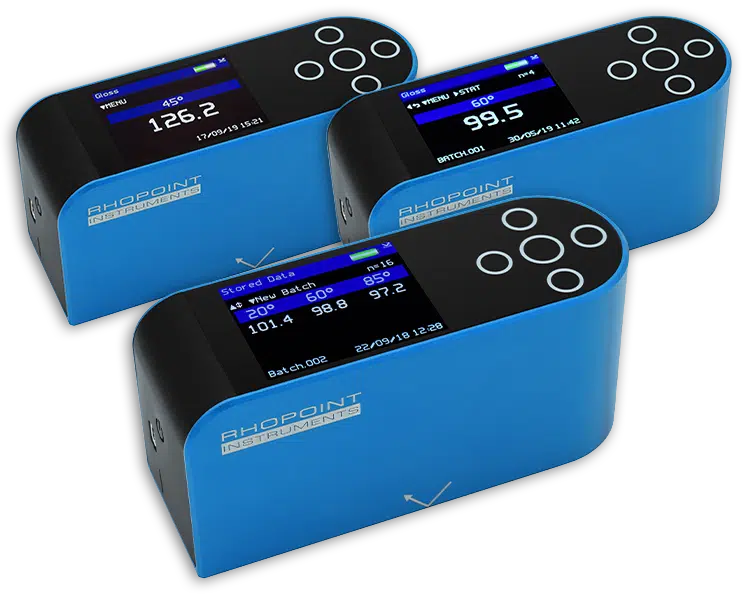
| Novo-Gloss Trio | - | |||
| Novo-Gloss 60 | - | - | - | |
| Novo-Gloss 45 | - | - | - |
A detailed product manual can be found on the USB supplied with the instrument.
Or it can be downloaded from: www.rhopointinstruments.com/help-services/resources/
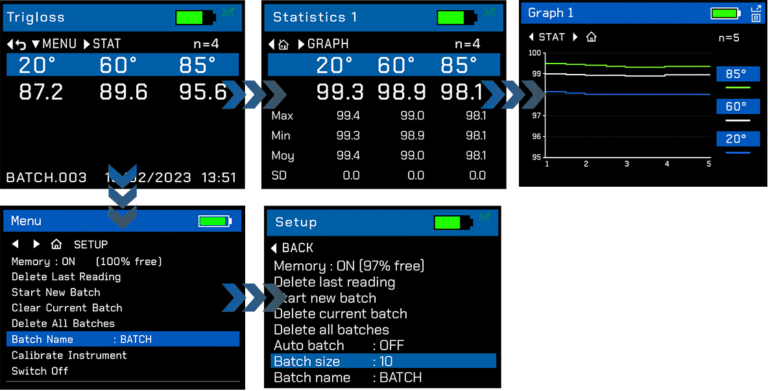
* Auto calibration must be enabled. MENU > SETUP > CALIBRATION MENU
RECALIBRATION
Rhopoint recommend that the Rhopoint IQ Flex 20 should be regularly serviced and calibrated. This will ensure reliable, accurate and consistent measurements are given. For more information or to book a service / calibration please visit: www.rhopointinstruments.com/help-services/calibration-servicing/

* For full instructions on installation, device connection, measurement transfer, data export and report creation, refer to the Rhopoint Quick Report App Manual.
The Quick Report App is available for Windows, Mac, Linux, Android and iOS; it can be run in Google Chrome or installed on a compatible device. On first connection, users are prompted to register and activate the included app subscription.
If you have a question, need more information, or would like to discuss your requirements, simply fill out this contact form and we’ll be in touch shortly.
|
Uploaded
Failed
|
 |