
Pre-operating Setup
Connect water feed
Cold mains water or recirculating chiller and water drain.
WATER IN is right spigot, left spigot is WATER OUT.
Water pipes and connectors are supplied with the instrument.

INFORMATION
Cut the tap connectors from the supplied hose.
Using the supplied spare hose clamps secure the hoses to the chiller.
OUT on the chiller is connected to IN on the MFFT.
IN on the chiller is connected to OUT on the MFFT.
Example chiller connection.
.jpeg)
If using a water chiller do not turn on the chiller until the instrument has powered up. A circulating bypass loop will activate once the instrument has booted up. Chiller mode must be activated in the instrument menu.
If using mains water supply the water can now be turned on.
Disconnecting the water feed
Check that the water feed to the instrument is turned off.
Push the outer collar in and at the same time pull the hose out.

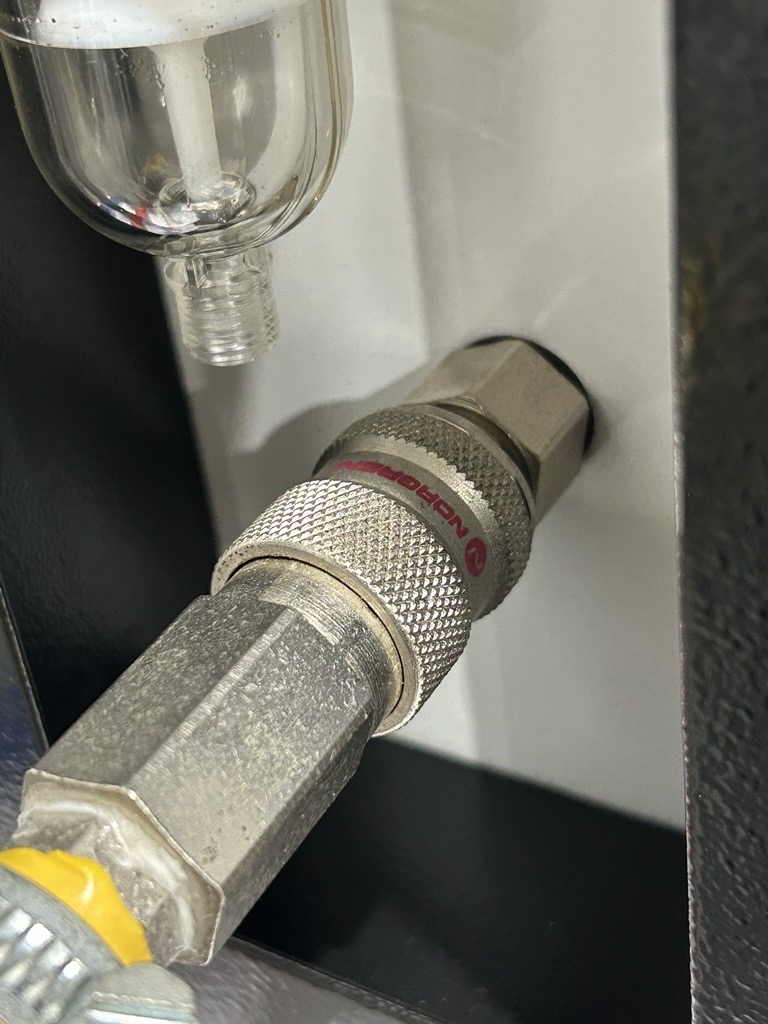
Connect air feed
Air feed pipe and connectors are supplied with the instrument.
Push the airline connector onto the spigot on the instrument.
Airline removal
To remove the air feed pull the collar back, the coupling will release.
Air flow setting
Set the pressure to 4 bar using the pressure regulator. Set the air flow to 4L/min using the flow controller.
.jpeg)
Connecting the mains supply
Plug in mains 240V 50Hz or 115V 60Hz dependent on model. The mains in socket is located on the side of the instrument. Mains leads are supplied with the instrument.
Changing the operating voltage
The instrument will operate on 240V 50Hz or 115V 60Hz and will come pre-configured from the factory. The operating voltage selection can be changed. With the instrument unplugged, use a tool such as a flat head screwdriver to open the compartment, it will hinge down from the top.
Remove the voltage selection drum. Rotate it to the desired setting and re-insert. Hinge the cover back into place and push firmly to latch back into place.
